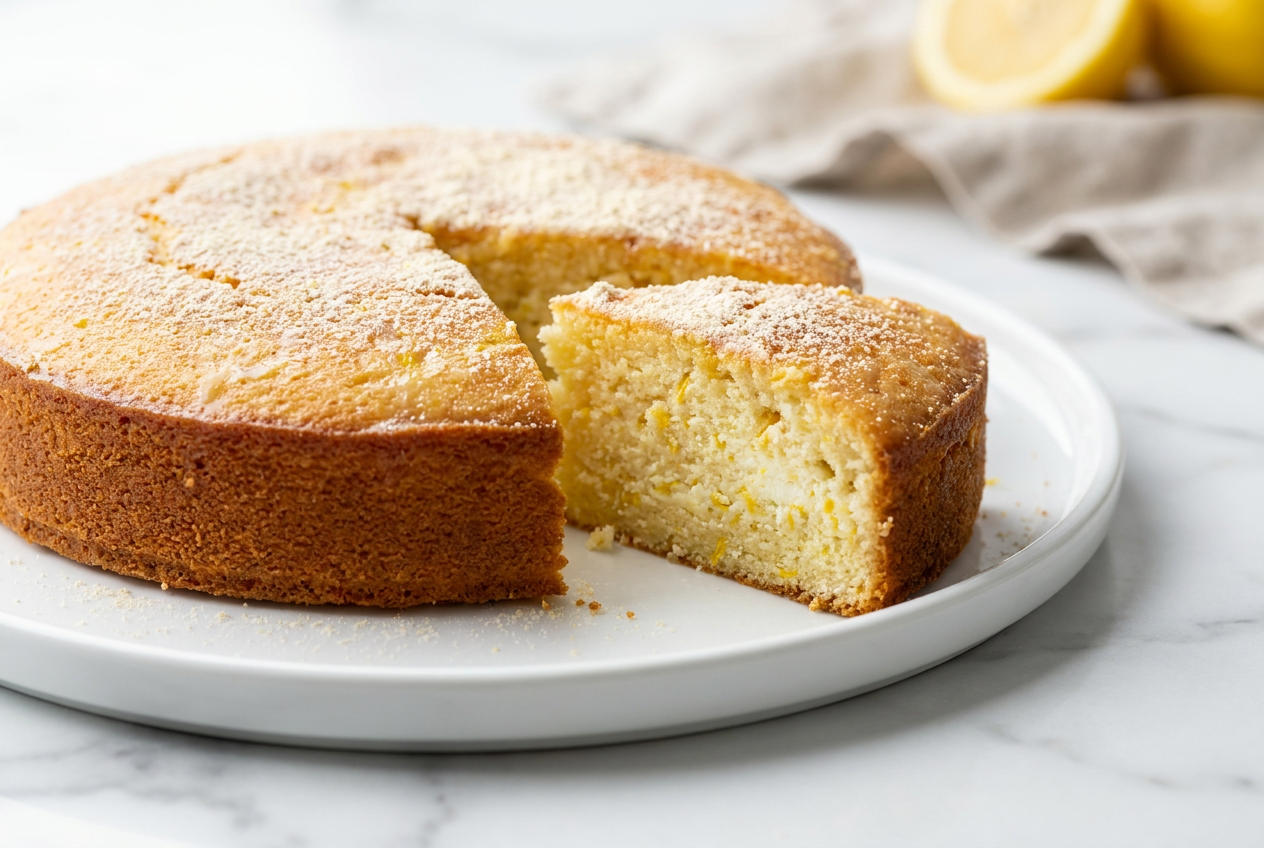
Craving a dessert that’s both satisfying and aligned with your dietary preferences? Imagine a slice of classic Italian ricotta cake light, moist, and bright with lemon but with added protein. This recipe aims to deliver that fluffy, delicate crumb without the dense texture sometimes found in protein-fortified baked goods.
Why You’ll Appreciate This High-Protein Recipe
A High-Protein Cake That Stays Moist: This recipe focuses on creating a protein cake that tastes good. The key is using a vanilla whey-casein blend protein powder. The casein helps retain moisture, preventing the rubbery texture that pure whey can sometimes cause in baked goods.
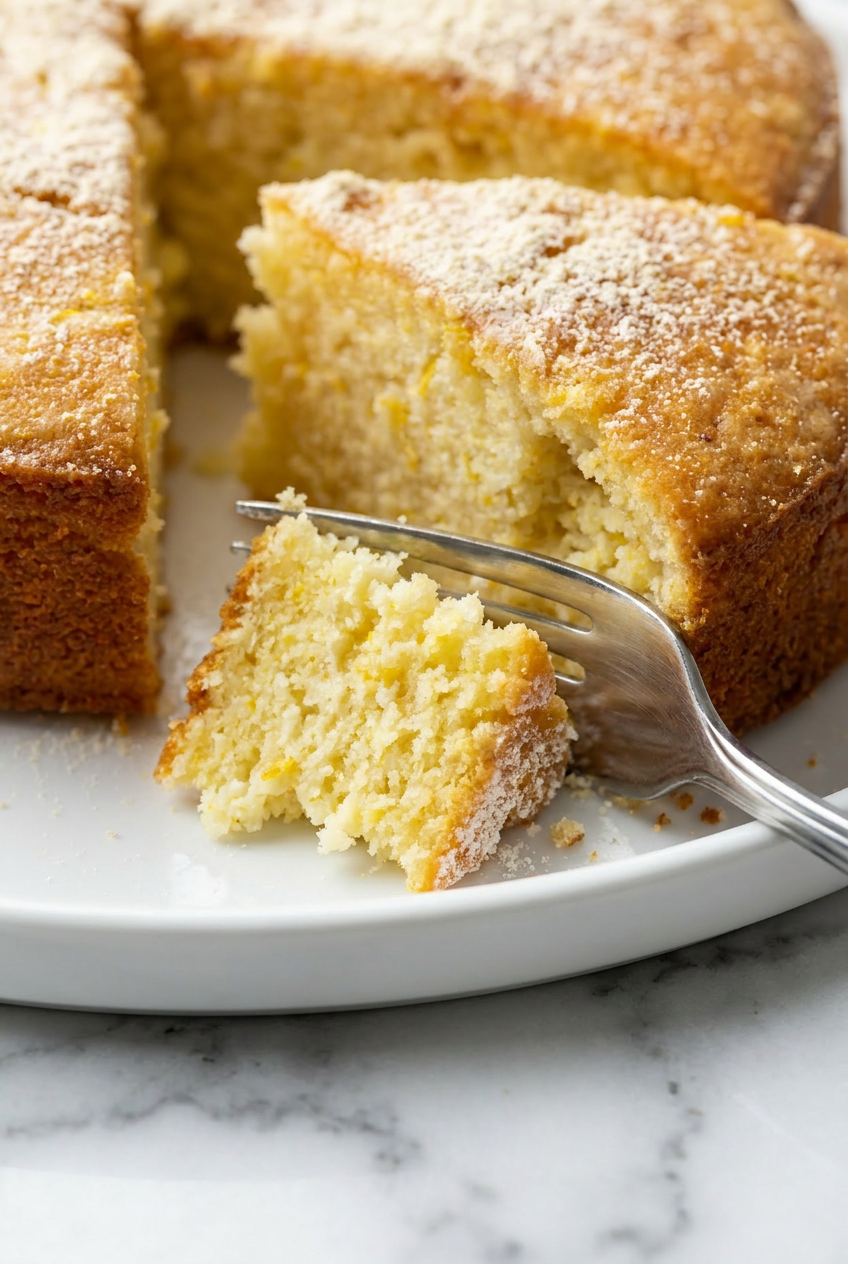
Moist and Fluffy Texture: This cake offers a light, rich, and delicate crumb that melts in your mouth, similar to a traditional Italian ricotta cake.
Straightforward to Make: Despite its beneficial nutritional profile, this recipe is accessible for bakers of all levels. It involves a simple, one-bowl mixing process, suitable for a relaxed baking session.
Keto, Gluten-Free, and Flavorful: This recipe naturally accommodates both keto and gluten-free preferences without compromising on taste or texture. Using almond flour and a low-carb sweetener, it offers a delicious treat that fits various dietary needs.
Ingredients Needed
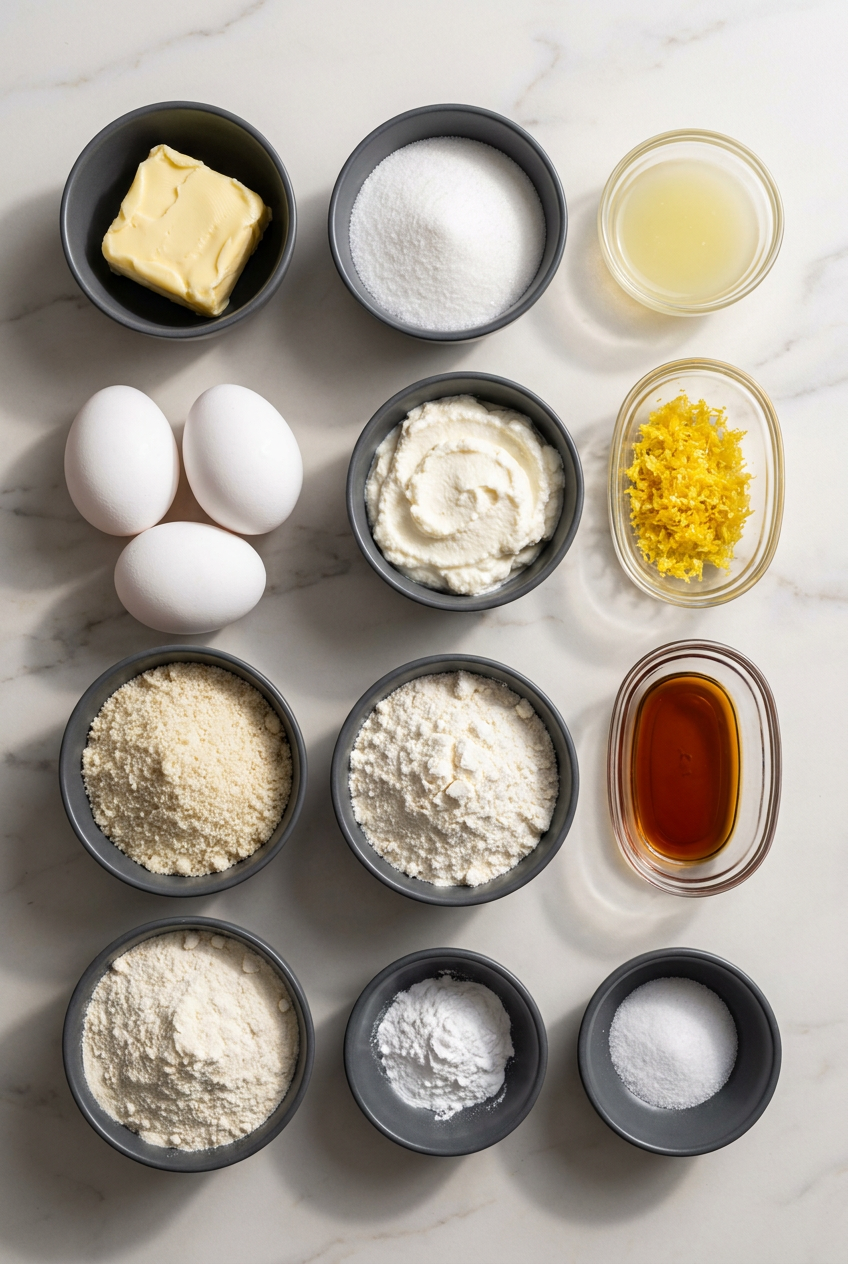
Selecting the right ingredients is important for creating this high protein lemon ricotta cake. Each component contributes to the balance of flavor, moisture, and protein.
Ingredients
- ½ stick soft butter (2 oz/57 g)
- ½ cup low carb sugar
- 4 large eggs (cold)
- 1 cup whole milk ricotta cheese (cold) (250 g)
- 1 ½ tablespoon fresh lemon juice
- 1 teaspoon lemon zest
- 1 teaspoon vanilla extract
Dry Ingredients:
- ¾ cup almond flour
- ¼ cup (approx. 1 scoop) vanilla-flavored whey-casein blend protein powder
- 4 tablespoon coconut flour
- 2 teaspoon baking powder
- ¼ teaspoon salt
Ingredient Notes and Smart Substitutions
The Protein Powder (Whey-Casein Blend): The whey-casein blend is a good choice for protein baking. The amount of almond flour is adjusted to help ensure the dry ingredients are balanced, which contributes to moisture retention. While vanilla flavor is recommended, an unflavored protein powder can work; consider adding a touch more vanilla extract for flavor.
Ricotta Cheese: For good flavor and a creamy texture, full-fat, whole milk ricotta cheese is suggested. If your ricotta seems particularly wet, straining it in a cheesecloth for about 30 minutes can prevent a soggy cake.
Flours (Almond & Coconut): Almond flour is chosen for its moisture and delicate structure, providing a gluten-free base. Coconut flour, known for its absorption, helps manage the batter’s consistency and adds a subtle sweetness. Both contribute to the texture of this high protein lemon ricotta cake.
Sweetener: A low-carb sweetener like erythritol or allulose is used to keep this recipe keto-friendly. However, if you are not tracking carbs, an equal amount of regular granulated sugar can be used.
Lemons: For fresh, bright flavor, fresh lemon juice and zest are recommended. A useful tip: always zest your lemon before you juice it; it’s easier to get the aromatic zest from a whole fruit.
How to Make High Protein Lemon Ricotta Cake
Preparation and Initial Mixing
- Start by pre-heating your oven to 325°F (165°C). Prepare an 8-inch round pan by cutting a piece of parchment paper to fit its bottom. Lightly spray or butter the pan, then press the parchment firmly inside, and set it aside.
- In a medium bowl, whisk together the almond flour, vanilla-flavored whey-casein blend protein powder, coconut flour, baking powder, and salt. For a light and uniform cake, sifting these dry ingredients together can help prevent lumps and aerate them.
Creaming the Wet Ingredients
- In a larger bowl, use either a hand mixer or a stand mixer to cream together the softened butter, vanilla extract, and your chosen low-carb sweetener until the mixture is blended and creamy.
- Next, add one of the cold large eggs and beat it into the mixture until it becomes light. Now, incorporate the cold ricotta cheese, lemon zest, and fresh lemon juice, beating until they are combined. The mixture might appear slightly curdled at this stage, which is normal and will smooth out later.
Combining and Baking
- To help achieve a light cake, add the dry ingredients and the remaining eggs in stages. Add about one-third of your dry ingredient mixture to the wet batter and mix on low speed until it’s just combined.
- Then, add one of the remaining eggs and mix until it’s fully incorporated. Repeat this process two more times: add another third of the dry mix, then the next egg, and finally, finish with the last third of the dry mix and the final egg. The aim is not to overmix; stop as soon as the last streaks of flour disappear into the batter.
- Gently spread the batter evenly into your prepared cake pan, using an offset spatula to smooth the top. Bake the cake for 50-55 minutes. It’s done when the top is golden brown and a toothpick inserted into the center comes out clean.
- Once baked, remove the cake from the oven and let it cool in the pan on a wire rack for 15-20 minutes. This resting time allows the cake to set properly. After resting, run a thin knife around the edge of the pan to loosen the cake before carefully inverting it onto the rack to cool completely.
Simple Two-Ingredient Lemon Glaze
While your cake cools, you might like to prepare this optional glaze. In a small bowl, whisk together ½ cup of powdered low-carb sweetener (or regular powdered sugar) with 1-2 tablespoons of fresh lemon juice. Add the juice slowly, a little at a time, until you achieve a pourable consistency that’s neither too thick nor too thin. Drizzle this lemon glaze over your completely cooled cake for an extra touch of lemon flavor.
Tips for a Fluffy & Moist Crumb
Why This Protein Method Works: This method for a high protein lemon ricotta cake uses a whey-casein blend. Whey provides some structure, while casein helps retain moisture throughout baking. This combination can help create a cake that avoids the common issue of dry protein baked goods.
The Alternating Method Explained: The technique of alternating ingredients, as described in Step 3 of the instructions, helps incorporate the flour without overworking the batter. Overmixing can often lead to a dense cake. By using this method, the goal is to achieve a tender crumb.
Cold Ingredients for Texture: While many cakes use room temperature ingredients, this recipe calls for cold eggs and ricotta. This choice contributes to a rich, yet fluffy crumb, similar to the texture of some cheesecakes.
Protein Content: This recipe can increase the protein content of your dessert. A traditional ricotta cake might offer around 8 grams of protein per slice, but with this high-protein version, you might get 12-14 grams, making it a more substantial snack or dessert.
Pro Tips & Troubleshooting
Expert Baker’s Tips
- Strain Your Ricotta: If your ricotta cheese appears very wet, strain it in a cheesecloth for about 30 minutes to remove excess liquid. This helps prevent the cake from becoming too heavy or soggy.
- Use Enough Zest: For a bright flavor that balances the richness of the ricotta, use the zest from a whole large lemon. It enhances the overall taste.
- Whip Your Egg Whites: For an even lighter texture, you can separate the eggs. Mix the yolks as directed, then whip the egg whites to soft peaks and gently fold them into the batter at the very end.
Common Mistakes to Avoid
- Over-mixing: This is a common cause for a dense, tough cake. Mix your batter only until the ingredients are just combined; a few lumps are preferable to a rubbery texture.
- Skipping the Parchment: This cake is moist and tender, which means it can be prone to sticking. The parchment paper liner helps prevent it from sticking to the pan.
- Zesting After Juicing: Remember to zest your lemon before you juice it! It’s much easier to get the fragrant zest from a whole lemon.
Fun Variations
- Berry Addition: Gently fold in about ½ cup of fresh or frozen blueberries or raspberries into the batter just before baking for small bursts of fruity sweetness.
- Tangy Option: For an extra tangy taste and more protein, consider replacing a portion of the ricotta with full-fat Greek yogurt.
- Loaf Pan Version: This batter can also be baked in a greased and lined loaf pan. Just start checking for doneness around the 45-minute mark, as baking times will vary.
Serving and Storage Guide
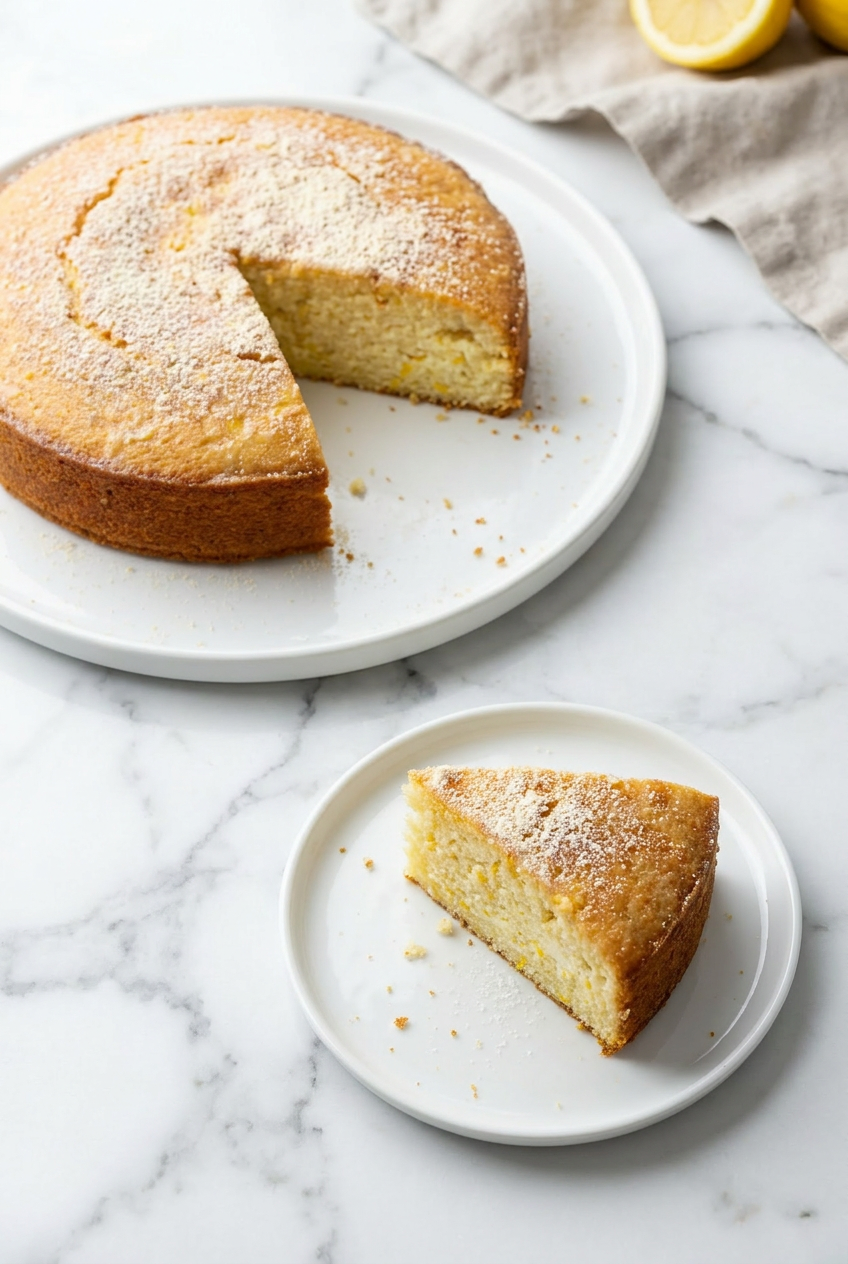
How to Serve Your Ricotta Cake
- Glazed or Dusted: This cake is enjoyable with its optional lemon glaze, a simple dusting of powdered sweetener, or served plain to let its natural flavors stand out.
- With Toppings: A dollop of fresh whipped cream or a side of mixed berries makes a classic and delicious pairing.
- Best Temperature: While good at room temperature, some prefer this cake chilled for a firmer, almost cheesecake-like texture. If refrigerated, let it sit out for 10-15 minutes before serving to soften slightly.
Storing and Freezing for Later
- Room Temperature: Leftover cake can be wrapped tightly in plastic wrap or stored in an airtight container on the counter for up to 3 days, maintaining its moisture.
- Refrigerating: For extended freshness, refrigerate your cake for up to a week. The texture will become firmer when cold, so allow it to come to room temperature slightly before serving if desired.
- Freezing: This lemon ricotta cake freezes well! Wrap individual slices tightly in plastic wrap, then again in foil, and they’ll keep for up to 3 months. To thaw, simply unwrap and let a slice sit at room temperature for an hour or two until soft.
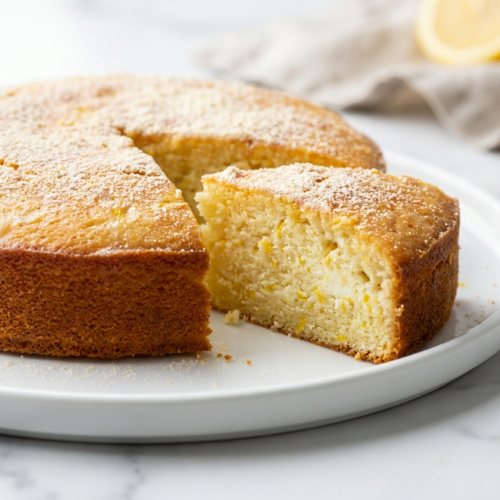
High Protein Lemon Ricotta Cake
Equipment
- 8-inch round pan
- Parchment paper
- Medium bowl
- Hand mixer or stand mixer
- Large Bowl
- Offset spatula
- Wire rack
- Thin knife
- Small bowl
Ingredients
- 57 g soft butter 2 oz
- 0.5 cup low carb sugar
- 4 large eggs cold
- 250 g whole milk ricotta cheese cold
- 1.5 tablespoon fresh lemon juice
- 1 teaspoon lemon zest
- 1 teaspoon vanilla extract
Dry Ingredients
- 0.75 cup almond flour
- 0.25 cup vanilla-flavored whey-casein blend protein powder approx. 1 scoop
- 4 tablespoon coconut flour
- 2 teaspoon baking powder
- 0.25 teaspoon salt
Instructions
Preparation and Initial Mixing
- Start by pre-heating your oven to 325°F (165°C). Prepare an 8-inch round pan by cutting a piece of parchment paper to fit its bottom. Lightly spray or butter the pan, then press the parchment firmly inside, and set it aside.
- In a medium bowl, whisk together the almond flour, vanilla-flavored whey-casein blend protein powder, coconut flour, baking powder, and salt. Sifting these dry ingredients together can help prevent lumps and aerate them for a light and uniform cake.
Creaming the Wet Ingredients
- In a larger bowl, use either a hand mixer or a stand mixer to cream together the softened butter, vanilla extract, and your chosen low-carb sweetener until the mixture is blended and creamy.
- Next, add one of the cold large eggs and beat it into the mixture until it becomes light. Now, incorporate the cold ricotta cheese, lemon zest, and fresh lemon juice, beating until they are combined. The mixture might appear slightly curdled at this stage, which is normal and will smooth out later.
Combining and Baking
- To help achieve a light cake, add the dry ingredients and the remaining eggs in stages. Add about one-third of your dry ingredient mixture to the wet batter and mix on low speed until it’s just combined.
- Then, add one of the remaining eggs and mix until it’s fully incorporated. Repeat this process two more times: add another third of the dry mix, then the next egg, and finally, finish with the last third of the dry mix and the final egg. The aim is not to overmix; stop as soon as the last streaks of flour disappear into the batter.
- Gently spread the batter evenly into your prepared cake pan, using an offset spatula to smooth the top. Bake the cake for 50-55 minutes. It’s done when the top is golden brown and a toothpick inserted into the center comes out clean.
- Once baked, remove the cake from the oven and let it cool in the pan on a wire rack for 15-20 minutes. This resting time allows the cake to set properly. After resting, run a thin knife around the edge of the pan to loosen the cake before carefully inverting it onto the rack to cool completely.
Optional Two-Ingredient Lemon Glaze
- While your cake cools, you might like to prepare this optional glaze. In a small bowl, whisk together ½ cup of powdered low-carb sweetener (or regular powdered sugar) with 1-2 tablespoons of fresh lemon juice. Add the juice slowly, a little at a time, until you achieve a pourable consistency that’s neither too thick nor too thin. Drizzle this lemon glaze over your completely cooled cake for an extra touch of lemon flavor.
Notes
Nutrition
Frequently Asked Questions
How can I make this a high protein lemon ricotta cake?
The recipe uses a vanilla-flavored whey-casein blend protein powder. This type of protein powder helps boost the protein content without making the cake dry, unlike some other protein powders.
What is the recommended protein powder for this cake recipe?
A vanilla-flavored whey-casein blend protein powder is suggested. The casein component is helpful for retaining moisture, helping the cake stay moist and fluffy.
Why is my ricotta cake not fluffy?
A common reason for a dense ricotta cake is over-mixing the batter, especially after adding the dry ingredients. To encourage a light crumb, mix only until the ingredients are just combined.
How do I store this cake to keep it fresh?
You can store this cake wrapped tightly on the counter for up to 3 days. For longer storage, refrigerate it in an airtight container for up to a week. The texture will firm up when cold, so allow it to warm slightly before serving if preferred.
Can I make this recipe with regular all-purpose flour and sugar?
This recipe is designed to be gluten-free and low-carb, using almond and coconut flours, and a low-carb sweetener. While it is possible to experiment with regular ingredients, it would require adjustments to liquid and dry ratios, and the texture would likely be different.
Can I freeze lemon ricotta cake?
Yes, this lemon ricotta cake freezes well. Wrap individual slices tightly in plastic wrap, then an additional layer of foil, and they can be stored in the freezer for up to 3 months. Thaw them at room temperature for an hour or two before enjoying.